QuickOPC User's Guide and Reference
Making a first OPC UA application using Live Binding in Windows Forms
In this Getting Started procedure, we will create a Windows Forms application in C# or Visual Basic that subscribes to OPC Unified Architecture (OPC-UA) node value and continuously displays it changes. The live binding model allows achieving this functionality by simply configuring the QuickOPC components, without any manual coding.
Install QuickOPC. Make sure that you have selected an installation choice that includes .NET development.
Start Microsoft Visual Studio, and create new Visual C# or Visual Basic project, selecting “Windows Forms App (.NET Framework)” template. Make sure that in the lower part of the “New Configure your new project” dialog, the framework is set to “.NET Framework 4.7.2” or later.
Drag the UAConnectivity component from the “QuickOPC Components” tab of the Toolbox to the form’s design surface.
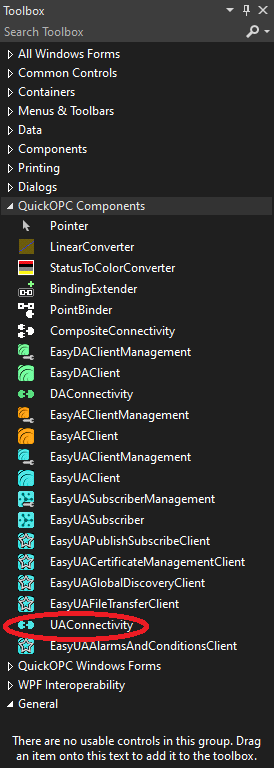
Notice that three icons will appear below the form: One labeled “uaConnectivity1”, the second labeled “pointBinder1”, and the third labeled “bindingExtender1”.
If the needed components do not show in the Toolbox: See Troubleshooting the Visual Studio Extension.
Drag a standard TextBox from the Toolbox to the form.
Right-click on the text box control on the form, and choose “” command.
Alternatively, you can select the text box control first, and then choose the “” command in the Properties window; for this to work, however, the commands must be displayed in the Properties window.

If you do not see these commands, display them by right-clicking in the Properties window, and checking “” in the menu.
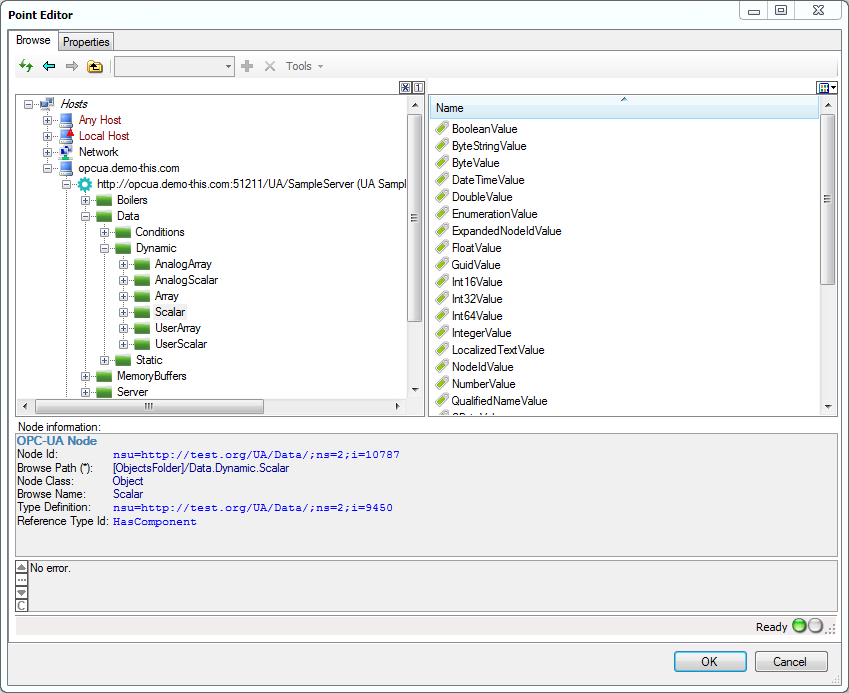
In the “Point Editor” dialog, select Hosts -> opcua.demo-this.com -> opc.tcp:// opcua.demo-this.com:51210/UA/Sample Server (UA Sample Server) -> Data -> Dynamic -> Scalar -> Int32Value, and press .
Build and run your application. You will see live OPC-UA data changing in the text box. It is also possible to verify the effects of live binding without building the application: On the bindingExtender component placed on the form, select the “” command. This will cause Visual Studio to perform the live binding immediately. Use the “” command to revert back to normal mode.
|
In runtime, all user interface features (such as controls, dialogs, and live binding; Windows Forms and WPF) and nonvisual components are supported both under .NET Framework and .NET 6+. However, "designing" them (this includes tasks like dragging from the Toolbox, or configuring in Properties window) in Visual Studio is only possible in .NET Framework projects. In order to achieve visual design for .NET 6+ projects, the developer can make two project files over the same set of source files, one targeting .NET Framework and one targeting .NET 6+, and use the project that targets .NET Framework for visual design tasks. |